Starting a No-Till Market Garden
How We Started a 40x100 foot No-Till Flower Garden
Our journey into no-till farming began with an idealistic dream but was first executed as a matter of necessity. We knew that we wanted to use sustainable, soil-building methods on our farm when first dreaming and scheming. We had a plan. We were going to farm on family land, 10 minutes from the house we were renting. Then 2020 happened, and the pandemic railroaded our perfect daydream. The pandemic real estate market boom pushed us out of the rental and into homeownership well before we had planned. The trays of plants that we had started in the rental basement with plans for our first commercial season moved with us to the new property, struggled from neglect during the interior renovations we made, and mostly died. We planted some new seedlings, but they struggled along as well. Our new property had a giant yard, perfect for a market garden, but we had moved and lost our plants at the ideal time for planting. We own a tiller, from previous gardening trials, but knew that breaking sod for a garden the size we desired would be a giant pain. So, we pivoted. Taking notes from Jennie Love, of Love n Fresh Flowers, we “broke” ground for a 30x100 foot market garden without turning on the tiller. We ordered corrugated roll cardboard, had spent mushroom substrate delivered, and spent quality time rolling and wetting cardboard, then topping with 4 inches of mushroom soil one wheelbarrow load at a time.
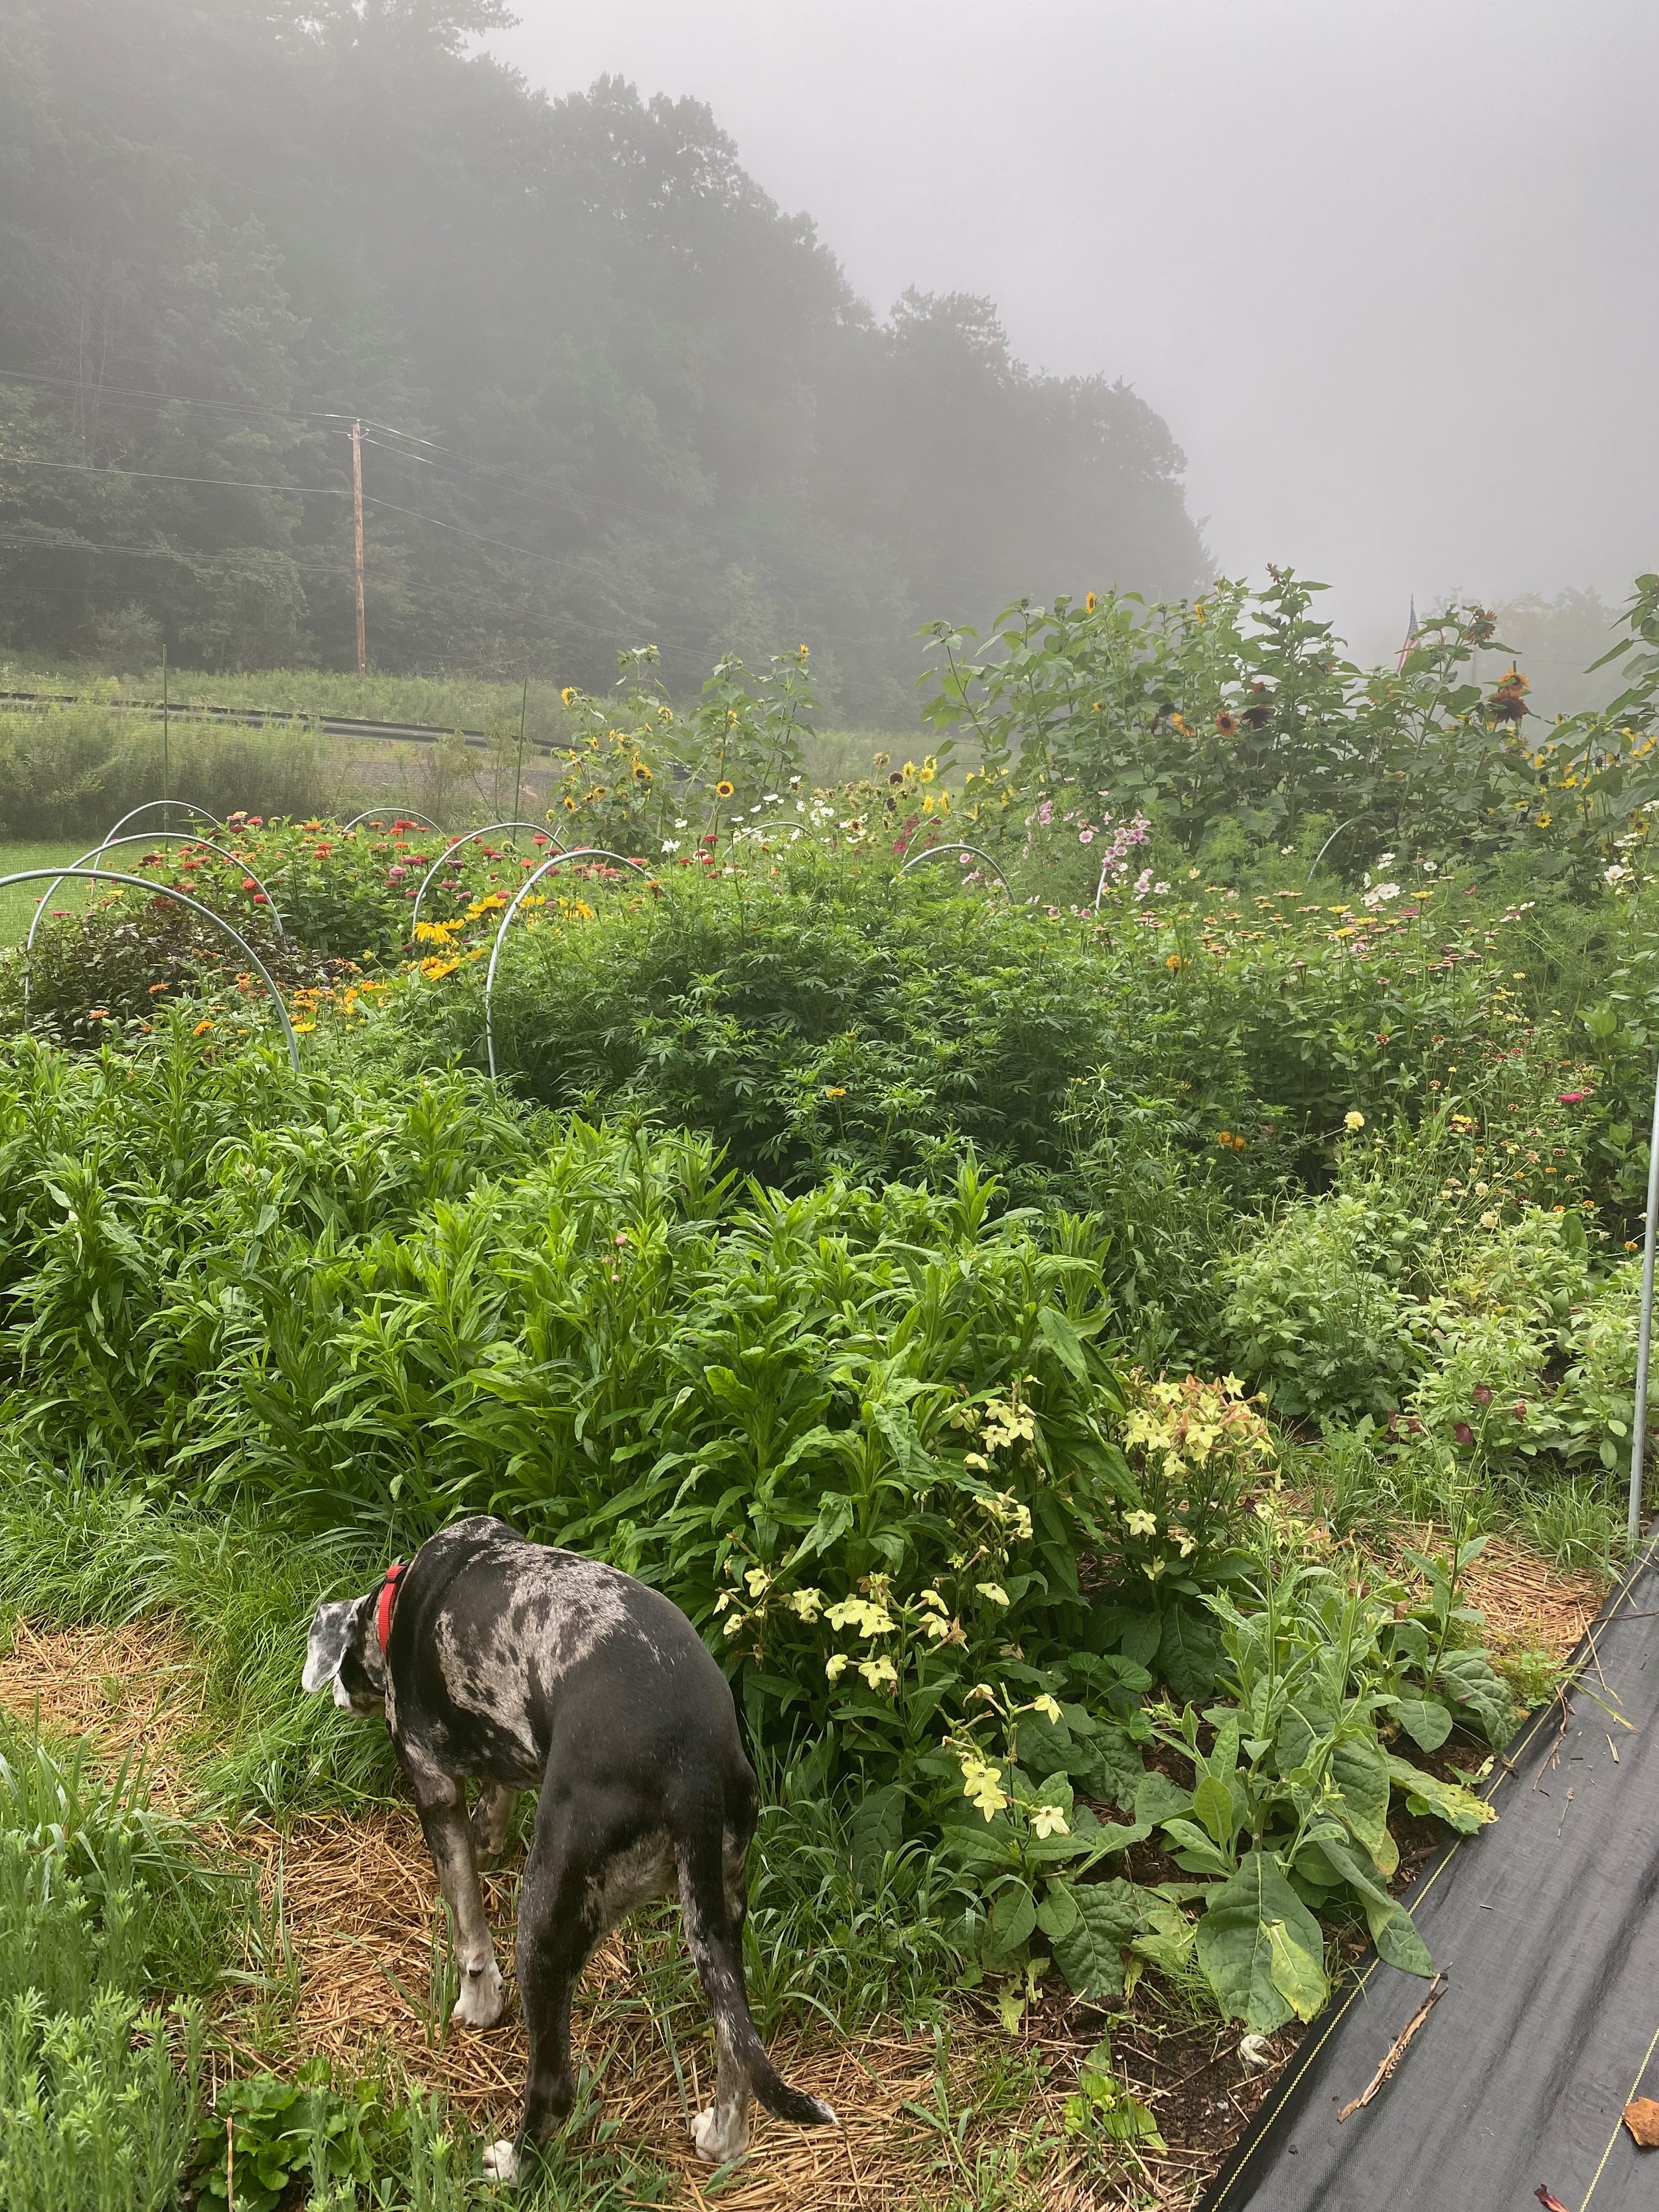
After laying out the plot, we tarped the field with a Farmer’s Friend silage tarp. Beginning closest to the house, we rolled back the tarp and planted struggling seedlings by piercing through the compost and cardboard to reach the ground underneath. We placed extra cardboard in the walkways between the rows and mulched with purchased straw. At the end of the tarp, we gave in to the necessity of tilling in order to plant dahlia tubers, which we had ordered the previous fall, not knowing that our location would change, as well as some thornless blackberry plants. The plants… struggled at first. Mushroom substrate can be either too woody (listen to the No-Till Flower podcast on compost here) or too high in salts. Ours was too woody, and repelled surface water from reaching our tiny seedlings. We watered overhead with a garden hose twice a day and watched the plants struggle along at a small size for too long. Once the plants were big enough to form a canopy over the soil, things changed. The plants took off and bloomed beautifully. We later fought some pests, Japanese and squash beetles, but were rewarded by an abundance of flowers (which we enjoyed and then mostly composted, in the experimental phase we decided that trying to find a sales outlet was an obstacle for a later time). We were not devoid of weeds with this method but did not have to weed at all to maintain the flowers in the no-till rows. We did lose the eucalyptus we planted through fabric in the tilled rows alongside the dahlias, as we neglected to till it.
Positives:
We grew some pretty heckin’ nice flowers that we got to enjoy ourselves. We were able to take some pictures that we used in making our website and gave away flowers to friends and local business owners. We dried what flowers we could and were able to make some amazing wreaths and ornaments for winter holiday sales, as well as for our website’s shop, making back what we spent on cardboard and mulch for the season. We identified some problem pests in the garden and were able to implement some integrated pest management (hand-picked adult Japanese beetles, employed Jack Dog to dig and eat grubs, and spread milky spore over current and future garden plots, and will bag early season dahlias to protect from cucumber beetles). We saved fossil fuel and some manual labor in avoiding 99% of the tillage we would have had to use otherwise.
Our garden gave us a lot in our first season. We were able to harvest several buckets of mixed blooms, such as those pictured here, on a given day in the peak of our productivity. Clockwise from top, rudbeckia “Indian Summer” and “Double Daisy”, basil “Aromatto”, cosmos “Daydream”, zinnia “Benary’s Giant Wine”, dahlia “Ivanetti” , zinnia “Oklahoma Golden Yellow”, and marigold “Coco Gold.”
Negatives:
Cost. Because our time was at a premium, as we were doing our own labor for home renovations out of necessity and budget, we paid to have roll cardboard and mushroom compost delivered. We have a well, but city-water users would need to factor in the added cost of irrigation if using immature/woody compost.
Glass Half Empty:
Japanese beetles were a disappointment, and are kind of gross to pick off by hand…
Glass Half Full:
Because we now know we have a high soil burden of grubs, we were able to use some pest control measures that we hope will benefit us next growing season.
Learn from our experience:
If you opt to use the cardboard/compost method over sod but have the advantage of time, we strongly recommend seeding some kind of cover crop directly seeded to mellow the compost and do the work of digging into the soil below, or layer over the sod in the fall and allow to rest over winter. There are some resources available to source recycled silage tarps, and Jennie Love has used recycled billboard plastic signage. Mulch hay is often available for free or cheap and should be just fine for pathways (watch for the use of persistent herbicides). Free-sourced cardboards may be used in the pathways, and some municipalities offer free compost to residents (ours does not). We love to hear how others are growing, please tell us your interesting stories in comments, or tag us on social media (@scytheandstem)!


